
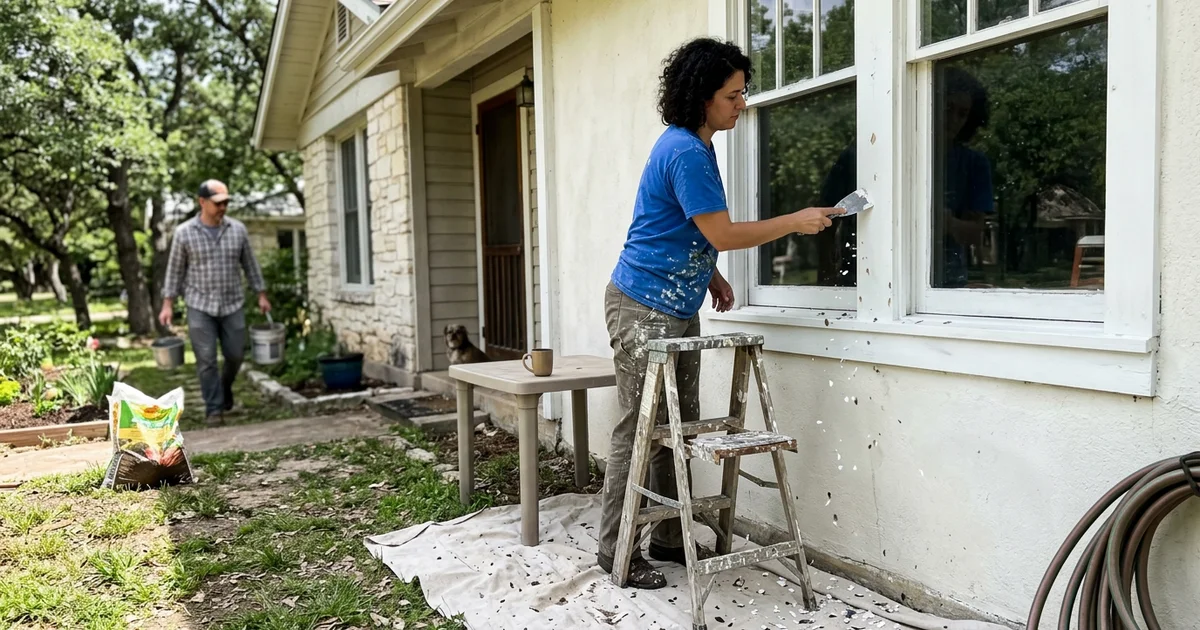
What Does Surface Prep Actually Mean?
You know how frustrating it is to see a beautiful new exterior finish start flaking off after just a single year. Understanding why surface prep matters before painting is the single best way to protect your investment.
Our team at our Austin painting services treats preparation as the main event, precisely because a coat of color is only as strong as the substrate beneath it.
Paint acts as a very thin adhesive film. If that surface is chalky, dirty, or cracked, the expensive new coating will simply peel right off with the debris.
Industry data shows professional crews frequently spend up to 70% of total project time just getting the walls ready before opening a can.
“Preparation is the foundation of every lasting paint job. Skipped steps today guarantee peeling paint tomorrow.”
We encounter the costly results of skipped steps almost daily.
Let us examine the exact stages that prevent a messy failure, identify the specialized products required, and explore how to evaluate a contractor’s bid.
Exterior Paint Prep Steps: The Four Phases That Matter
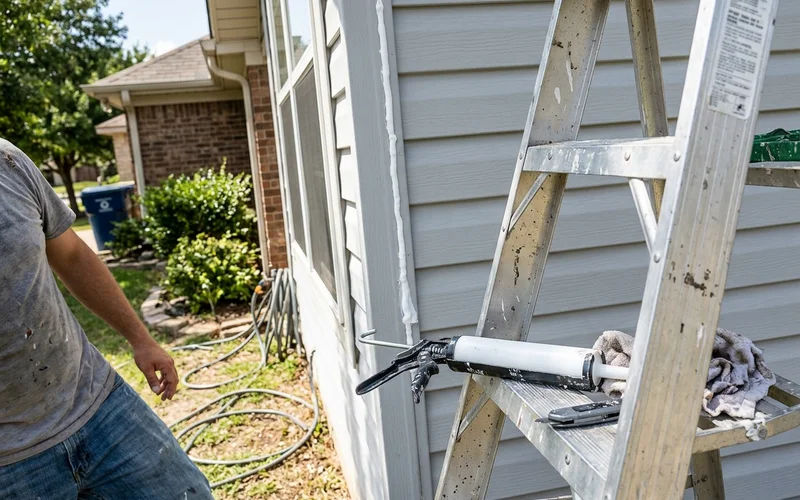
Exterior paint preparation requires four distinct phases to ensure a lasting bond. Those phases involve cleaning, removing loose material, sealing gaps, and properly treating the bare spots. Our exterior painting prep protocol follows the exact same order for every home.
The punishing Central Texas sun demands a rigorous approach to surface integrity.
1. Pressure washing. Sun breaks down old acrylic finishes into a powdery chalk. Dirt, pollen, and mildew build up heavily on shaded walls, requiring a thorough wash. Paint applied directly over chalk bonds only to the powder, meaning it starts peeling within a season or two. We always keep the pressure below 1500 PSI on wood siding to prevent gouging the grain. This gentle approach cleans the surface without driving moisture deep into the boards.
2. Scraping. Any paint that is lifting, cracked, or loose gets scraped back firmly to a sound edge. Rough borders then require sanding so those transitions do not show through the fresh finish. Primer simply cannot glue loose paint back down to the substrate. We regularly encounter jobs where failing to feather these edges ruined an otherwise flawless application.
3. Caulking. Gaps at siding joints, window trim, and corner boards must be filled with a premium, flexible sealant. Split caulk is the primary way water gets trapped behind an exterior coating. Once moisture infiltrates, intense heat pushes it outward and creates ugly blisters in the paint. We specify high-movement elastomeric products like OSI Quad Max or Sherwin-Williams SherMax for these critical areas. These specialized sealants handle extreme temperature shifts without tearing.
4. Spot priming. Bare wood, repaired sections, stucco patches, and anything scraped bare need a dedicated base coat before the final color. On weak or chalky surfaces, contractors must use a specialized bonding primer to lock down the old finish. Masonry and stucco require alkaline-resistant options like Sherwin-Williams Loxon. We apply these targeted base coats to ensure the topcoat adheres permanently.
The short version
Wash, scrape, caulk, prime. If any one of those is missing from a quote, the paint job is on borrowed time.
Interior Prep Is Just as Important
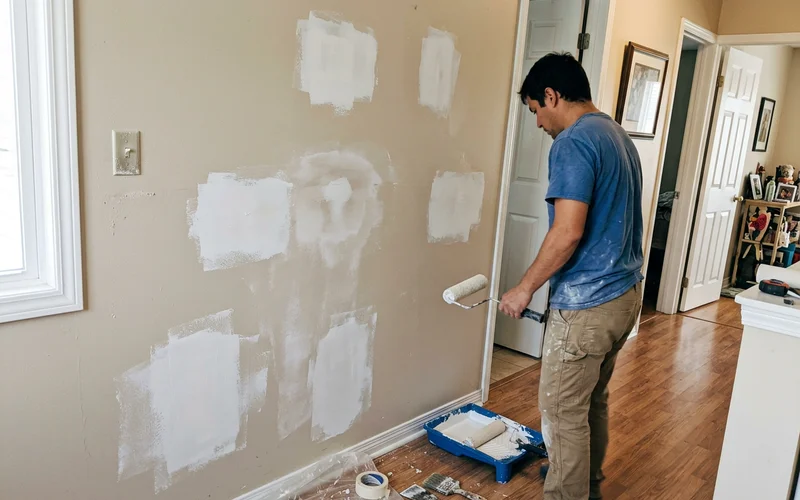
Interior preparation solves a completely different set of structural and cosmetic challenges. The fundamental goal remains the same, which is creating a smooth, sealed canvas. Our interior painting crews execute a strict checklist before opening a single can of color.
Dust control and stain management define a successful inside project.
- Patch and sand. Nail holes, dings, and small cracks get filled with a lightweight compound and sanded perfectly flush. We use dust-free sanding systems, like Festool extractors, to protect your indoor air quality.
- Prime repairs. Drywall patches soak up liquids at a completely different rate than the rest of the wall. Without a sealing base coat, these spots show up as dull or shiny flashes in the final finish.
- Block stains. Water marks, smoke residue, and marker ink bleed straight through standard latex products. We rely on shellac-based sealers, such as Zinsser B-I-N, to permanently lock in severe discoloration and odors.
- Degloss shiny surfaces. Glossy trim and doors require a thorough scuff sand so the new enamel has a physical profile to grip. Skipping this step guarantees the fresh paint will easily scratch off with a fingernail.
- Caulk trim gaps. A thin, consistent bead of acrylic latex where baseboards and casings meet the wall makes every line look crisp.
Why Paint Peels: How Skipped Prep Shows Up Later
Skipping crucial preparatory steps usually remains hidden on the day the contractor finishes the job. The costly consequences typically emerge months later as the changing seasons stress the new finish. Fresh coatings look fantastic over almost anything for a brief window.
Problems show up quickly in areas with intense sun exposure and high humidity. Our local climate accelerates failure, making every unsealed gap a liability. A mild climate might hide a sloppy job for a few years, but harsh weather exposes shortcuts fast.
| What you see | What usually caused it | Typical Timeline |
|---|---|---|
| Peeling in large sheets | Paint applied over chalk, dirt, or loose old layers | 1 to 2 years |
| Blisters on sunny walls | Moisture trapped behind the film from failed seals | 6 to 12 months |
| Cracked lines at trim joints | Old, brittle sealant not replaced with elastomeric | 1 year |
| Shiny or dull patches inside | Spackle repairs not properly sealed | Immediate |
| Brown stains bleeding through | No dedicated stain-blocking product used | 1 to 3 months |
| Mildew returning fast | Wall not washed with an appropriate cleaning agent | 6 months |
The timeline for these failures drops dramatically in demanding environments. Strong ultraviolet rays and big temperature swings make every weak spot fail significantly faster than it would elsewhere. We frequently inspect failing exteriors that are less than three years old because the previous crew rushed the wash phase.
Replacing prematurely peeling sections costs much more than doing it right the first time.
Why Prep-Heavy Quotes Cost More
A surprisingly low estimate almost always indicates a contractor planning to skip time-consuming preparatory work. Quality preparation regularly consumes 60% to 70% of the total labor hours on a professional job. Washing, scraping, and sealing a two-story house can easily take an entire crew two full days before any topcoat is opened.
Quality prep budgets cover intensive steps like:
- Thorough mold and mildew treatment
- Complete failure-edge sanding
- Premium elastomeric sealant application
A cheap bid simply does not include the budget for that level of detail.
This disparity is not always obvious, because vague estimates do not spell out the exact process. Our standard quotes list every single cleaning and sealing phase by name. This transparency lets you compare bids fairly and see exactly what your money buys.
Contractors who specify their methods tend to stand behind their work much longer.
What to Look For in a Painting Prep Checklist and Quote
Your painting prep checklist should clearly define the materials, scope, and specific repair locations. A professional estimate leaves nothing to interpretation regarding how the crew will handle damaged areas. When you read an estimate, look for specific details rather than generic promises.
- Named prep steps, not just a vague phrase like “prep included.”
- What gets primed, and with which exact type of product, such as Zinsser or Loxon.
- Caulking scope, detailing whether they replace all open joints or just the visually failed areas.
- Repair notes, clearly calling out rotten wood, cracked stucco, or drywall damage.
- Protection, such as covered floors, masked furniture, and draped landscaping.
If those specifics are missing, you should ask the contractor for clarification. A reputable business will gladly explain their exact process in writing. Our detailed guide covering questions to ask a painting contractor features a full checklist to help you compare.
You can also review what to expect during a painting project to walk through a typical schedule day by day.
Prep for Different Surfaces
Different building materials demand entirely different cleaning and sealing strategies. Treating fiber cement like natural wood is a guaranteed way to void a manufacturer warranty. Here is how the preparation process changes based on the specific exterior or interior material.
We adjust our techniques and product selections for every unique substrate.
Wood Siding and Trim
Wood expands and contracts heavily with heat and moisture, causing it to shed coatings faster than stable materials. We carefully scrape the existing layers back to a sound edge, sand rough spots smooth, and treat bare wood with a high-adhesion latex. Soft or rotten boards must be flagged for replacement prior to coating. Paint simply cannot save or strengthen rotting lumber.
Fiber Cement Siding
Brands like James Hardie hold color exceptionally well, but their butt joints and trim seams open up naturally over time. Washing with a simple garden hose and applying fresh elastomeric caulk at those specific joints matters most. High-pressure washing can actually damage these composite boards. We spot-treat any bare areas with a 100% acrylic primer designed specifically for cementitious surfaces.
Stucco and Masonry
Stucco is highly porous and frequently develops fine hairline cracks as a house settles. We wash off the accumulated chalk, carve open the larger cracks to fill them properly, and seal patches with an alkaline-resistant masonry product. The final decision then involves choosing between a standard premium acrylic or a heavy elastomeric waterproof coating.
Drywall
Inside the home, proper preparation means filling holes, setting popped nails below the surface, and sanding everything flat. Fresh drywall mud requires a dedicated PVA or high-build sealer. We never apply finishing colors directly over raw spackle.
Trim and Doors
Glossy architectural elements require a thorough scuff sand so the new enamel has something to grab. Gaps between the trim and walls receive a precise bead of acrylic sealant for crisp, professional lines.
A Simple Way to Picture It
Think of a new finish like a coat of liquid glue holding a thin, colored sheet to your wall. If the surface is dusty, the adhesive simply grabs the loose dust. If the old layer is flaking, the fresh glue just pulls those flakes right off.
If the substrate is wet behind the film, the entire sheet lets go.
To prevent this, a proper foundation requires:
- A bone-dry substrate
- A chalk-free surface
- A tightly sealed perimeter
Proper preparation is just making sure this adhesive layer has something incredibly clean and solid to hold onto for years.
That is the main reason professional crews would rather spend an extra day cleaning than rush straight to the fun part. A rushed application might look fantastic for a few months. A properly sealed one still looks exceptional years down the line.
We focus heavily on this foundation to protect your investment.
Why Surface Prep Matters Before Painting: The Part That Lasts
The final color always gets the credit, but the invisible preparation does all the heavy lifting.
When you hire a contractor, you are truly paying for how thoroughly the surface is washed, repaired, and sealed. Skipping these foundational steps is the exact reason why surface prep matters before painting.
We want your property to look pristine for the long haul.
If you would like to see what a diligent, prep-first scope looks like for your specific property, give our office a call. A specialist will walk the perimeter with you and put every single step in writing.