
The Big Picture
Most property owners assume a major renovation will turn their daily routine upside down. According to a 2026 Houzz report, 54% of US homeowners tackled projects last year, and many found the disruption challenging. Our team understands that the house painting process should feel organized, not chaotic.
This means you should know exactly what is happening each day, who is at your house, and what it costs. We use a proven framework to eliminate the guesswork. You can use this roadmap to know exactly what to expect when hiring a painter, whether you choose us or another contractor.
Here is how our painting process works from the first call to the final walkthrough.
Stage 1: The On-Site Estimate
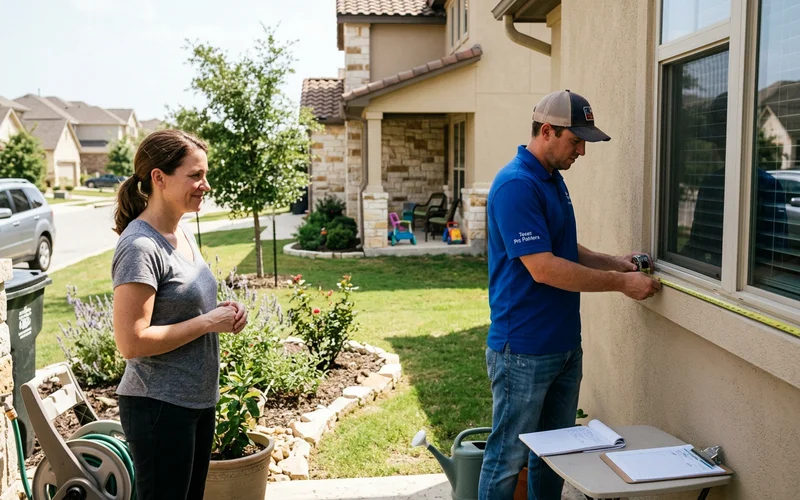
We start the process with a comprehensive site visit to evaluate your space. This gives the estimator the exact measurements needed to build an accurate price.
We schedule free on-site estimates within 48 hours anywhere in our service area. You should plan on 30 to 60 minutes depending on the project scope. Our estimators use precise laser tools, like the Bosch GLM 50, to calculate the square footage in minutes.
During the visit, the estimator will complete several key tasks:
- Walk the rooms or exterior with you
- Measure surfaces accurately
- Note repairs like peeling trim, cracked stucco, or drywall damage
- Ask about your timeline, colors, and any HOA rules
- Answer questions about products and process
Stage 2: The Written Quote
You receive a fixed written quote shortly after the site visit. This document outlines every cost and step so you are never caught off guard.
We adhere to Painting Contractors Association (PCA) guidelines to ensure full transparency. A good quote lists specific details:
- Every surface included in the project
- Each prep step by name
- Primer and paint products, and number of coats
- Start date and expected duration
- Price and payment terms
- Warranty terms
Read the document carefully and ask questions. Once you approve it, that is the final price. The team prices any later additions in writing first, which protects you from unexpected charges.
Stage 3: Color Consultation
We finalize all your colors in writing before painting day arrives. That completely eliminates the risk of application surprises later on.
This step might mean testing sample patches on the wall or pulling HOA-approved palettes. We often help clients explore 2026 US color trends, such as Sherwin-Williams’ Color of the Year, Universal Khaki (SW 6150), for a classic neutral look. You also need to choose the right sheens for each specific room.
Our guide to choosing paint colors in Central Texas has practical tips to help you get ready.
Stage 4: Getting Your Home Ready
You need to clear the work areas a few days before the crew starts. Here is how to prepare for painters before they arrive on site.
We handle moving and covering larger furniture items inside the house. Pulling furniture at least 3 feet away from the walls gives the painters the exact clearance they need for scaffolding and sprayers.
For interior jobs
- Take down art, mirrors, and curtains
- Put away valuables and fragile decor
- Clear small items from shelves and counters near walls
- Plan where pets will stay during work hours
For exterior jobs
- Move cars out of the driveway if the crew needs space
- Turn off sprinklers the day before and during painting
- Move patio furniture and grills away from walls
- Unlock gates for easy property access
Stage 5: Protection and Prep
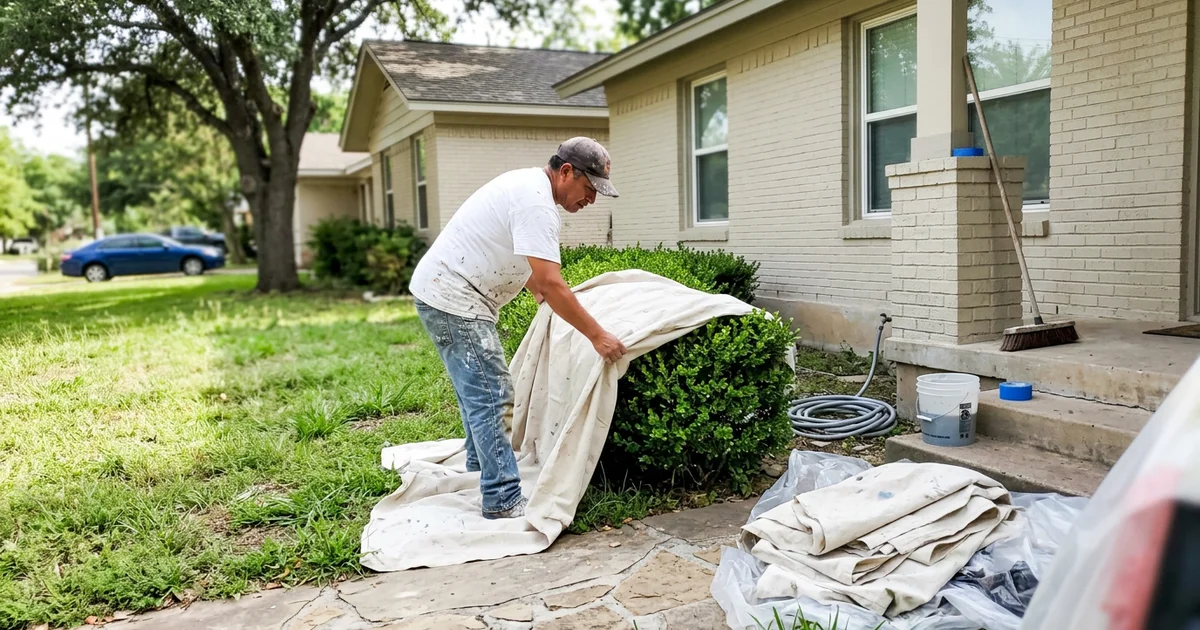
Our crew protects everything that is not getting painted on day one. Inside the house, that means covering floors, moving and wrapping furniture, and removing outlet covers.
Exterior protection involves placing canvas drop cloths over plants and walkways. We also tape 3M ScotchBlue plastic over windows and fixtures when needed.
Then the critical surface preparation begins, which involves several steps:
- Washing the siding or walls
- Scraping away loose paint
- Sanding rough edges smooth
- Patching holes and caulking gaps
- Priming bare surfaces
Industry data shows prep often consumes 20 to 40 percent of the labor day, which is something many people underestimate. This foundational work is exactly what makes the new finish last, so read more about why prep matters.
Stage 6: Painting
We apply the finish coats systematically once the prep is completely done. Inside the home, the ceiling gets painted first, followed by the walls, trim, and doors.
Exterior application requires a strategic approach to the weather. We follow the shade around the house to avoid painting surfaces in direct afternoon sun.
“Following the shade prevents acrylic latex paint from flash-drying, which ensures a smooth, durable finish without blistering.”
You will see the crew lead on site every single day. If you have a question or want to change something, they are the best person to ask.
Stage 7: Daily Cleanup
We clean up the entire site at the end of each work day. Tools are put away, walkways are cleared, and the rooms you need are made usable again.
You should never have to step around paint cans at night. The crew strictly follows EPA guidelines for proper disposal, ensuring no wash water or paint residue ever ends up in local storm drains.
Stage 8: Final Walkthrough
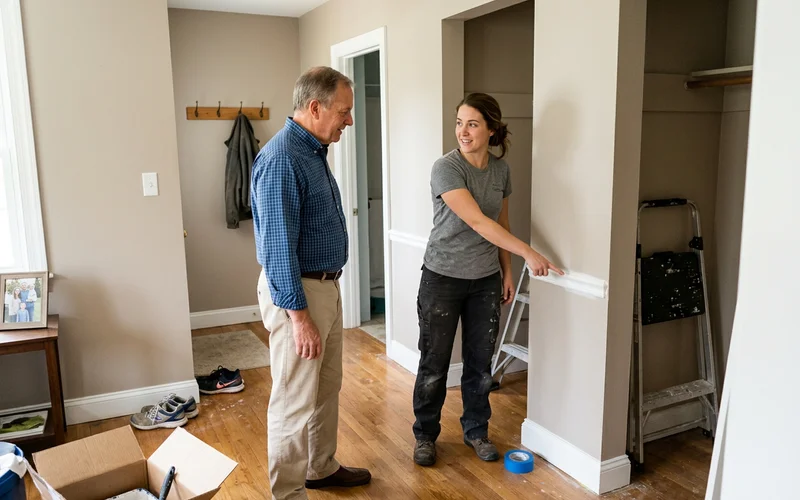
We walk the job with you when the painting is officially complete. You should bring a critical eye to this inspection.
The walkthrough covers a few specific details:
- Clean lines along the ceiling and trim
- Smooth, even coverage on all walls
- Proper cleanup of all work areas
We follow the PCA P1 standard for a properly painted surface. This means inspecting the finish from a normal viewing distance of 39 inches under finished lighting, rather than pressing a flashlight against the drywall.
Point out anything you want touched up, and the crew fixes it before leaving. Then the furniture goes back, protection comes down, and the site gets a final clean.
Typical Timelines
Every painting project timeline depends heavily on the scope of work. You can use these standard estimates to plan your schedule.
Kitchen cabinets often require the most patience. Water-based alkyd paints might take 14 to 30 days to fully cure to their maximum hardness.
| Project | Typical duration |
|---|---|
| One or two interior rooms | 1 to 2 days |
| Whole-house interior | Several days to two weeks |
| Single-story exterior | 3 to 5 days |
| Two-story exterior | 1 to 2 weeks |
| Kitchen cabinets | Several days plus cure time |
These estimates shift slightly if there are repairs, major color changes, or weather delays.
What We’ll Ask You Along the Way
We rely on your timely input to keep the project moving smoothly. A successful renovation is always a team effort.
Providing access via a smart lock app or a lockbox keeps the crew on schedule if you are at work. Here is what we may ask from you during the job:
- Color sign-off before painting begins, in writing
- Access to water and power outside, and to keys or codes if you are away
- A quick check-in after prep, especially if hidden damage is found
- Pets and kids kept clear of work areas during the day for safety
- Your input on the final walkthrough
What Happens If We Find Hidden Damage
We pause all work immediately if prep uncovers problems you could not see before. This allows the crew to assess the situation properly.
In older US homes, crews frequently uncover wood rot around window sills or water damage hidden behind baseboards. Sometimes stucco cracks are wider than they initially looked.
When that happens, the team stops to show you the discovery and explain your options. We never add anything to your price without your approval in writing. That commitment is part of the no-surprise change order promise.
After the Job
We want your new finish to look pristine for years to come. When the crew leaves, a few simple practices help your paint last.
Standard acrylic latex paint takes about 30 days to reach its full cure. You should avoid harsh scrubbing during that first month to protect the surface.
Keep these tips in mind:
- Keep leftover paint labeled by room or surface for touch-ups
- Go easy on scrubbing for the first couple of weeks while paint cures
- Note your warranty dates and keep your quote and invoice safely filed
Commercial Projects Work a Little Differently
We adjust our hours and methods to accommodate your business operations. For offices, retail stores, and restaurants, the core stages are the same, but the timing shifts significantly.
Estimates often happen as site walks, and schedules are built around your operating hours. Work is usually done at night or on weekends to prevent downtime. We use fast-drying, low-VOC commercial products like Benjamin Moore Scuff-X to ensure the space is safe and ready for morning customers.
Each shift ends with the space reset and ready for the next day. Our guide on after-hours commercial painting covers that specific process in detail.
Ready When You Are
You can see this proven process applied directly to your own home or business. Our team is standing by to help you plan the project.
If you are ready to take the next step, book your free estimate. We will walk the job with you, explain each step clearly, and send a fixed written quote.