
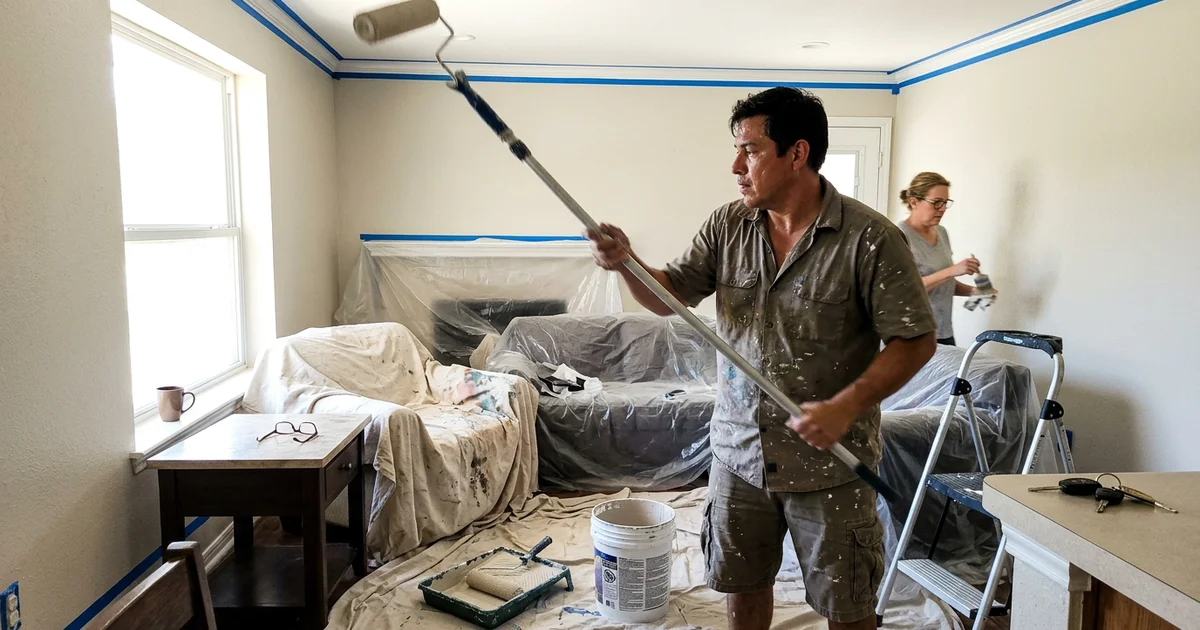
Deciding to paint ceilings and trim with walls is the first major choice you face during a home repaint. We consistently see clients wondering if they should tackle just the walls or wrap in the ceilings, trim, and doors as well. Recent 2026 data from Zillow shows interior painting is the top pre-listing project for sellers.
You have to consider how each choice impacts your budget and the final look of the room. We want to help you think through this interior painting scope so you get the highest return on your investment.
Let us break down the costs, timelines, and logic behind bundling or separating these tasks.
Why Ceilings Go First
Many homeowners ask if they should paint ceiling or walls first. Ceilings are always painted before walls to prevent roller mist from ruining freshly finished surfaces. We start at the top because gravity pulls fine paint spatter downward.
This top-down approach is a strict rule in the painting industry. Rolling dead-flat ceiling paint throws microscopic droplets across the room.
Trying to paint a ceiling last usually results in a messy transition line.
The Physics of Top-Down Painting
Gravity is the main reason ceilings are handled before anything else.
- Roller Spatter: Heavy ceiling naps throw a fine mist that ruins finished walls.
- Sharp Lines: Cutting a perfectly straight line is easier when pulling wall paint up against a finished ceiling.
- Efficiency: Setting up ladders and drop cloths once for the entire room saves hours of labor.
We usually recommend a dead-flat finish for the ceiling. A high-quality flat paint cuts glare and hides minor drywall flaws perfectly.
Trim Enamel vs Wall Paint
Comparing trim paint vs wall paint comes down to understanding the different levels of physical abuse they endure. We apply softer paints to walls and harder, scuff-resistant enamels to baseboards and door casings.
Products like Sherwin-Williams Emerald Urethane Trim Enamel or Benjamin Moore Advance dry to a tough, furniture-like shell. Standard wall paint simply lacks the durability needed for high-traffic contact points.
| Feature | Wall paint | Trim enamel |
|---|---|---|
| Typical sheen | Flat, eggshell or satin | Semi-gloss or satin |
| Hardness | Softer and flexible | Harder, scuff-resistant shell |
| Leveling | Rolled, minor texture | Levels smooth to hide brush marks |
| Cleaning | Gentle wiping required | Wipes clean easily with damp cloth |
| Dry and recoat time | One to two hours | Four to sixteen hours |
These urethane-modified products take longer to fully cure. You get a finish that can withstand vacuum cleaner bumps and pet scratches for up to a decade.
Painting Interior Doors
Painting interior doors can happen while they are hanging on their hinges, or taken down to lay flat on sawhorses. We recommend taking them down because a horizontal orientation prevents drips and creates a smoother final coat.
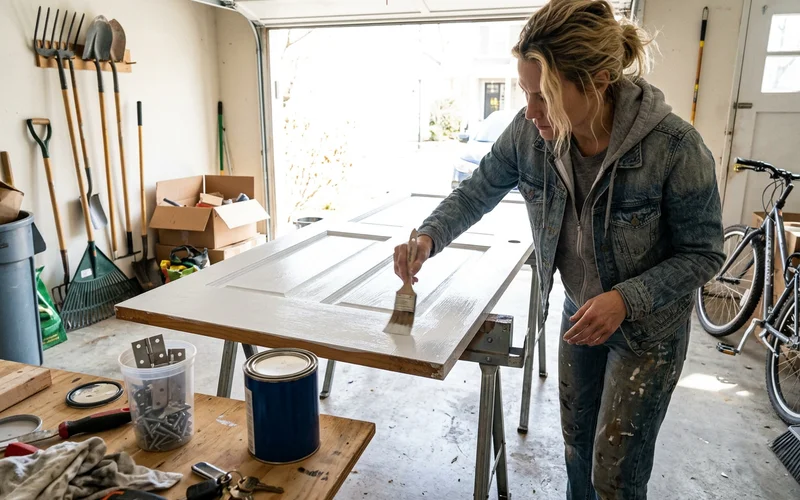
Based on 2026 data from Homewyse, you can expect to spend between $166 and $339 per door for a professional finish. Laying paneled doors flat allows the self-leveling trim enamel to flow out perfectly without sagging.
We always take the time to remove the hardware completely rather than just masking it. This extra step ensures a crisp edge around the hinges and doorknobs.
Curing Time Considerations
Taking doors down does add time to your project schedule.
- Doors must dry completely on one side before being flipped.
- Premium trim enamels require long recoat windows.
- Rehanging heavy doors requires careful handling to avoid scratching the fresh finish.
When Doing Everything at Once Makes Sense
Choosing to paint ceilings and trim with walls at the same time is the most cost-effective way to transform a room. We suggest bundling the work to limit the disruption to your daily life.
Combining these tasks means your contractor only sets up drop cloths, moves furniture, and tapes off floors once. According to a 2025 Zillow Consumer Housing Trends Report, nearly 29 percent of sellers prioritize this exact type of full-room update before listing.
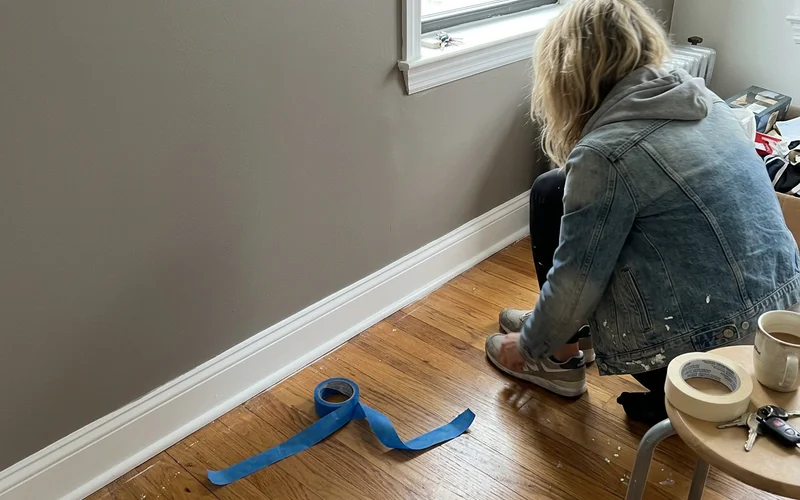
You should seriously consider a complete package if you face any of these specific situations.
- Major color shifts: Dark walls transitioning to light walls make old trim look incredibly dingy.
- Yellowed baseboards: Oil-based enamels from the early 2000s yellow over time and clash with fresh colors.
- Upcoming property sale: Buyers immediately notice chipped door casings and scuffed baseboards.
- Minimal disruption: Getting all the fumes and equipment out of your house in one trip is highly preferred.
A complete refresh eliminates the stark contrast between new wall paint and aging trim.
When Separate Projects Make Sense
Splitting your painting project into phases is a smart way to manage your budget over time. We frequently help clients prioritize the most damaged surfaces first while delaying less critical areas.
Ceilings generally suffer very little wear and tear. You can often go a decade or more between ceiling repaints while still refreshing your walls every few years.
Smart Phasing Strategies
Angi’s 2026 cost guides indicate that interior trim painting alone can range from $1 to $3.50 per linear foot. Tackling just the walls now and saving the baseboards for next year keeps initial costs down.
- Focus on the main living area: Update the kitchen and living room first.
- Delay the bedrooms: Private spaces can wait until your budget replenishes.
- Trim-only updates: Sometimes a fresh coat of semi-gloss on the baseboards is all a room needs.
The main trade-off is dealing with the setup process multiple times.
How Adding Surfaces Changes Cost and Time
Adding ceilings and trim to a standard wall-painting job typically increases the total cost by 60 to 90 percent. We factor in the extra labor, specific materials, and extended drying times for these additional surfaces.
Our guide to interior painting cost explains exactly how each of these variables shows up in a formal quote.
What Drives the Price Up
Several specific factors heavily influence your final estimate.
- Ceilings: Tall or vaulted ceilings require specialized scaffolding and extensive setup time.
- Trim and baseboards: Detailed brushwork takes significantly longer than rolling large flat walls.
- Doors: Paneled doors require careful cutting in and extended drying times on both sides.
Color Choices for Trim and Ceilings
Keeping your trim color consistent throughout the entire house creates a cohesive, high-end look. We frequently apply soft, warm whites like Sherwin-Williams Alabaster or Benjamin Moore White Dove in a semi-gloss finish.
A single trim color ties disjointed rooms together beautifully. It also makes future touch-ups incredibly simple because you only need to keep one can of touch-up paint in the garage.
Safe Bets for Ceilings
Flat white is the absolute safest and most popular choice for ceilings. A bright white ceiling reflects maximum light and makes the room feel taller.
Choosing a dark color for your interior doors is a very popular 2026 design trend. This creates a striking contrast, but darker colors require extra coats and careful brushwork to achieve a crisp line.
Popular Color Combinations
To make deciding easier, here are three highly requested strategies.
- Classic Contrast: Bright white trim against warm gray or beige walls.
- Color Drenching: Painting the walls, trim, and ceiling the exact same dark color for a moody effect.
- Soft Blending: Using a 25 percent tint of the wall color on the ceiling to soften the visual transition.
What to Expect on Painting Day
A full-room painting project follows a very specific sequence to ensure maximum efficiency. We always start at the highest point in the room and work our way down to the baseboards.
Our crews stick to this proven order of operations.
- Ceiling application and minor patching
- Walls, first coat to establish color
- Walls, second coat for full coverage
- Trim and baseboards using protective shields
- Doors and door frames
We often remove the interior doors completely and stage them in a garage or separate work zone. This allows the doors to cure flat while the crew focuses on the walls.
All hardware and hinges are either removed or heavily masked with high-quality tape to prevent accidental splatters.
Popcorn Ceilings
Removing an older popcorn ceiling is a complex process that may require specialized hazardous material handling. We strongly advise testing any textured ceiling installed before the mid-1980s for asbestos before scraping begins.
The U.S. Environmental Protection Agency effectively banned asbestos in spray-applied surfacing materials in 1978. Existing stock was still legally used by builders well into the early 1980s.
Some older Austin homes still have popcorn ceilings. These highly textured surfaces are fragile and absorb liquid paint extremely quickly.
The Costs of Safe Removal
If your test comes back positive for asbestos, standard painters cannot legally remove it. We do not offer popcorn ceiling removal, so we will talk through whether painting it makes sense or if you should hire an abatement team.
- Certified abatement teams must handle the extraction.
- Full containment and HEPA air purification are mandatory.
- Asbestos abatement can add $5 to $20 per square foot to your project costs.
Crown Molding and Built-Ins
Architectural details like crown molding and custom built-ins add incredible character to a room but require significant labor to paint correctly. We have to caulk every single seam and brush each detailed edge by hand.
Data from Angi’s 2026 painting cost guide shows detailed trim work requires premium acrylic-latex caulking to prevent future cracking as the house settles.
Preparing Complex Trim
Proper preparation is the secret to a flawless finish on intricate woodwork.
- Caulking: Every seam where wood meets the wall gets a fresh bead of caulk.
- Sanding: Glossy built-ins require thorough sanding to ensure the new paint adheres.
- Brushing: Wainscoting and window seats demand slow, careful brush application to avoid drips.
If you have a lot of detailed trim, it is worth deciding early whether to include it. This level of detail can change the schedule and price noticeably.
Our Recommendation
Deciding to paint ceilings and trim with walls in a single visit delivers the cleanest possible finish and the highest value for your dollar. We highly recommend doing everything at once if your budget allows for it.
If a full package stretches your finances too thin, we will help you decide what surfaces to prioritize first. Either way, your written quote lists each surface separately so you can see exactly what is included.
You will always know where your money is going before the first drop cloth hits the floor. Let us help you plan the perfect painting project today.